Interlocking pieces of carved wood. Can be found in confessional screens, dividing the priest from the penitent. This provides a powerful symbol for the restoration of the relationship between God and man in the Sacrament of Reconcilliation.


Your Custom Text Here
Interlocking pieces of carved wood. Can be found in confessional screens, dividing the priest from the penitent. This provides a powerful symbol for the restoration of the relationship between God and man in the Sacrament of Reconcilliation.
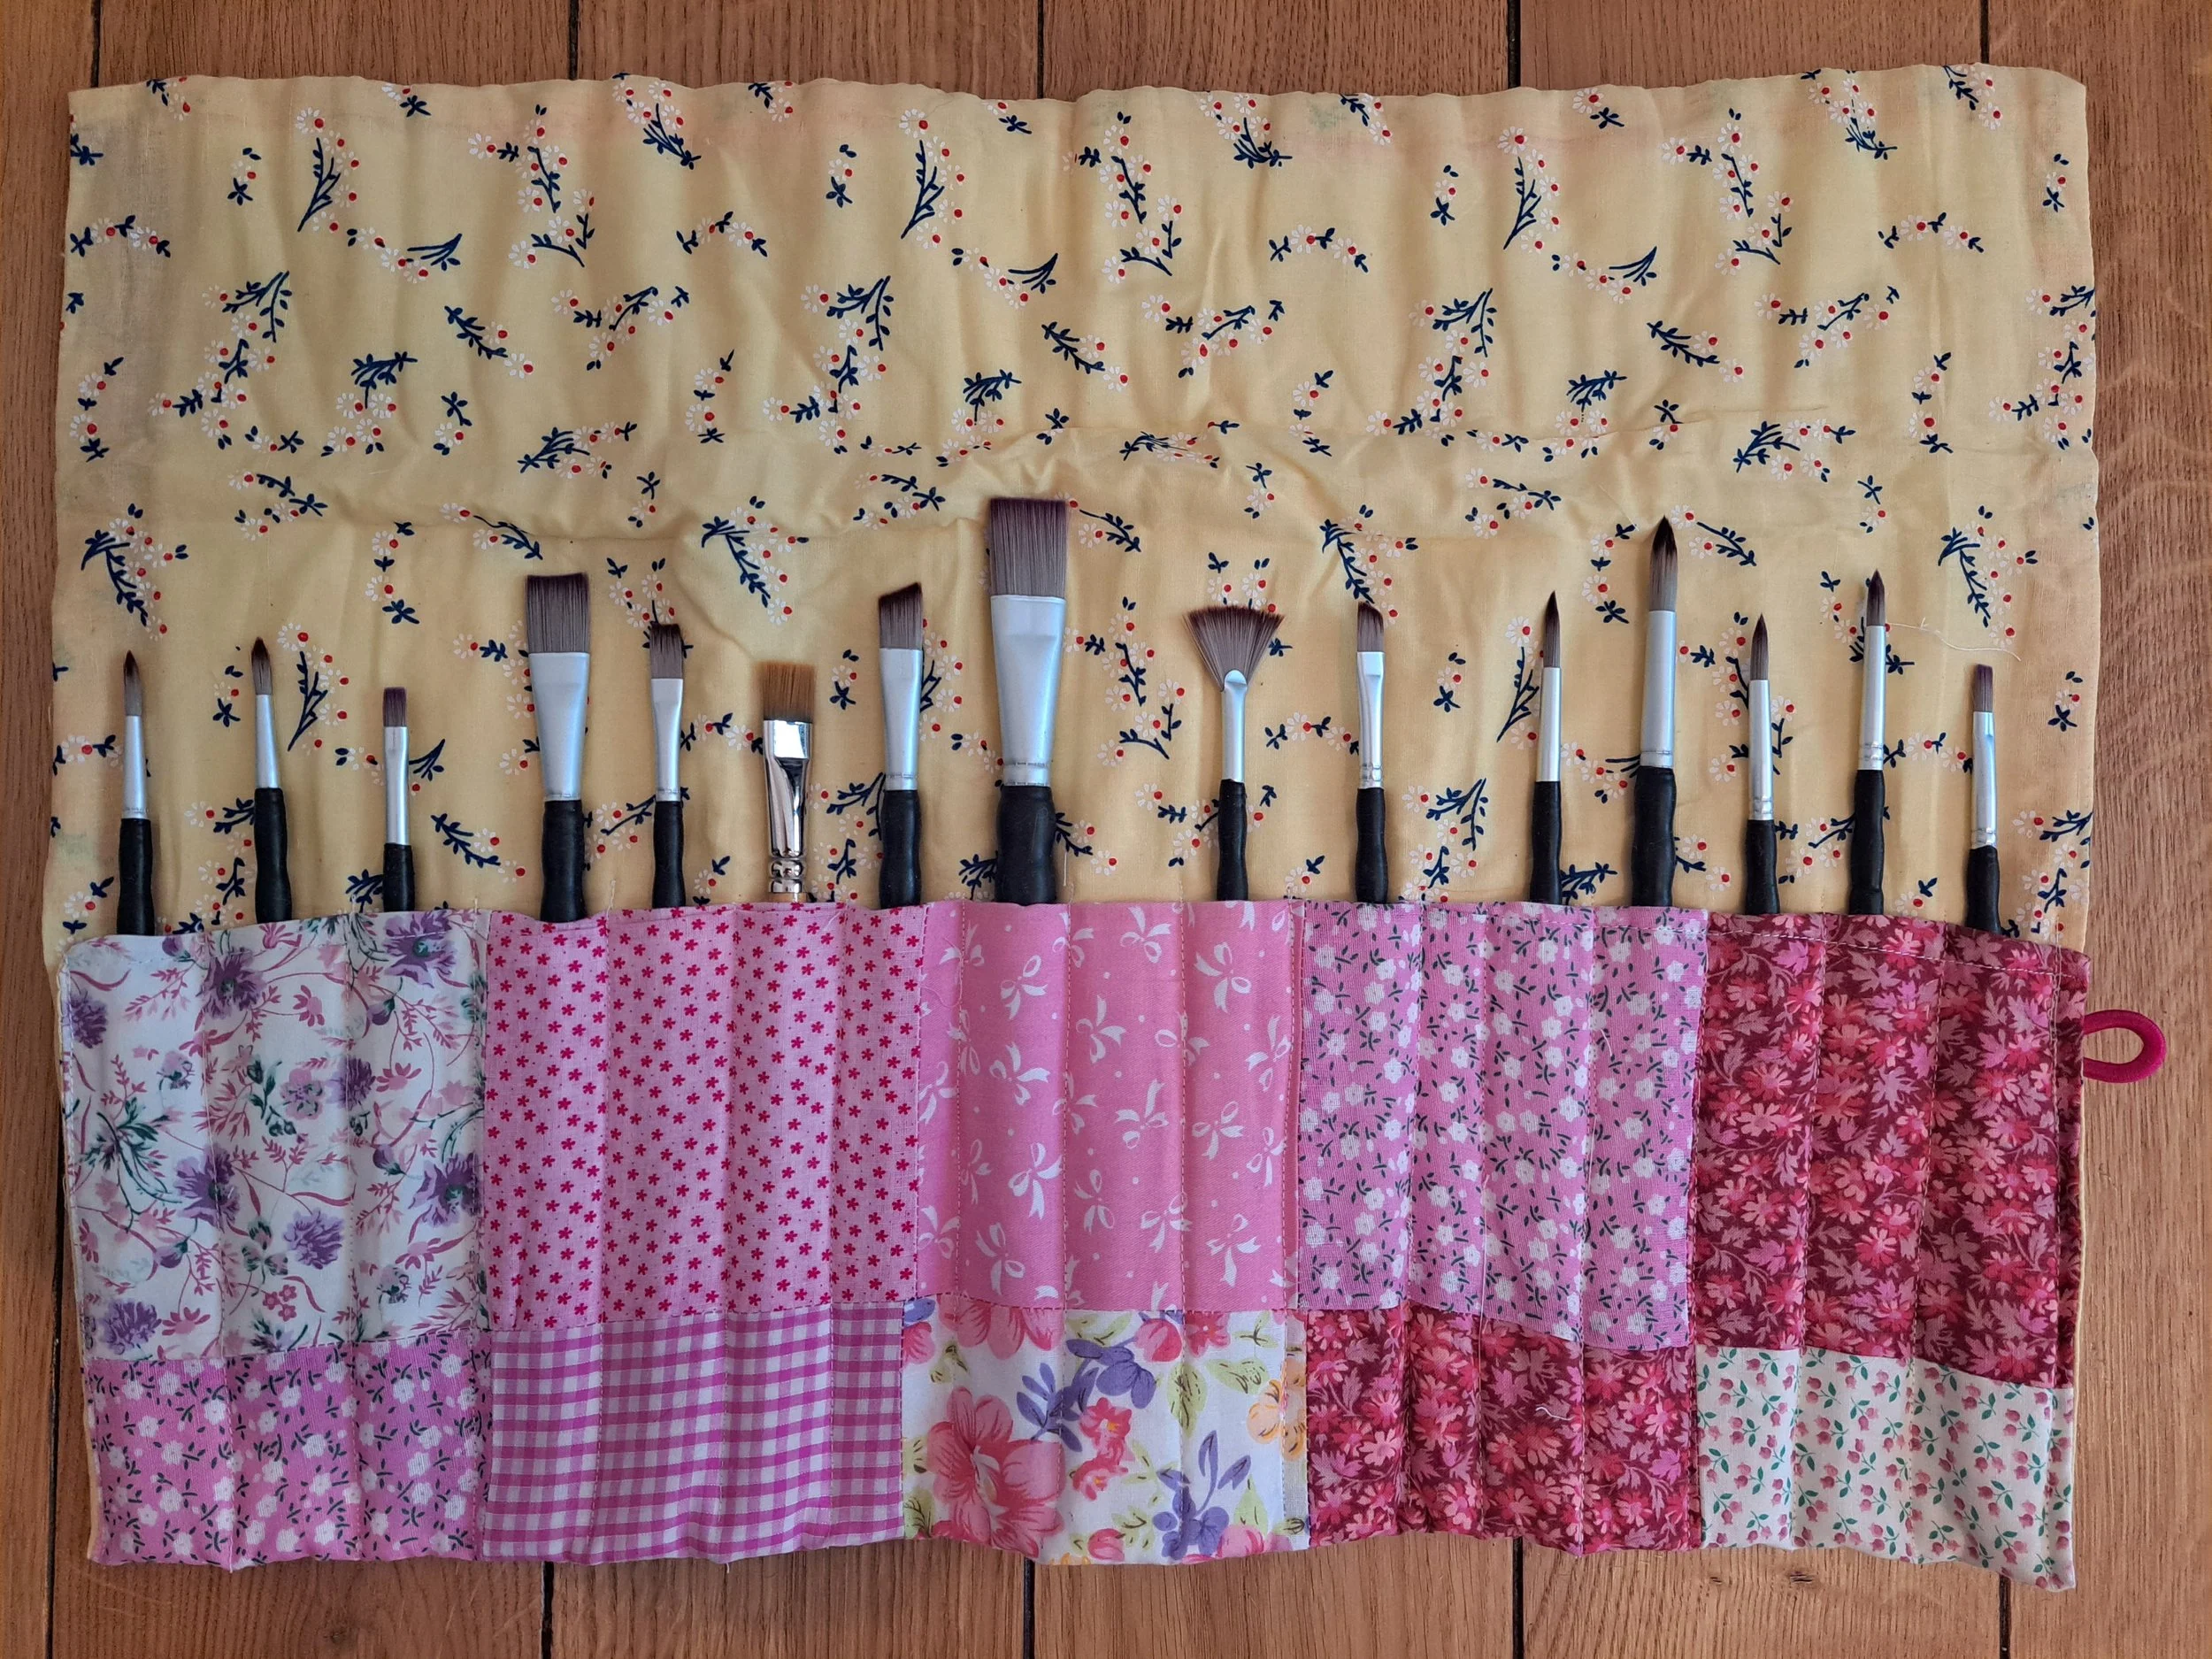
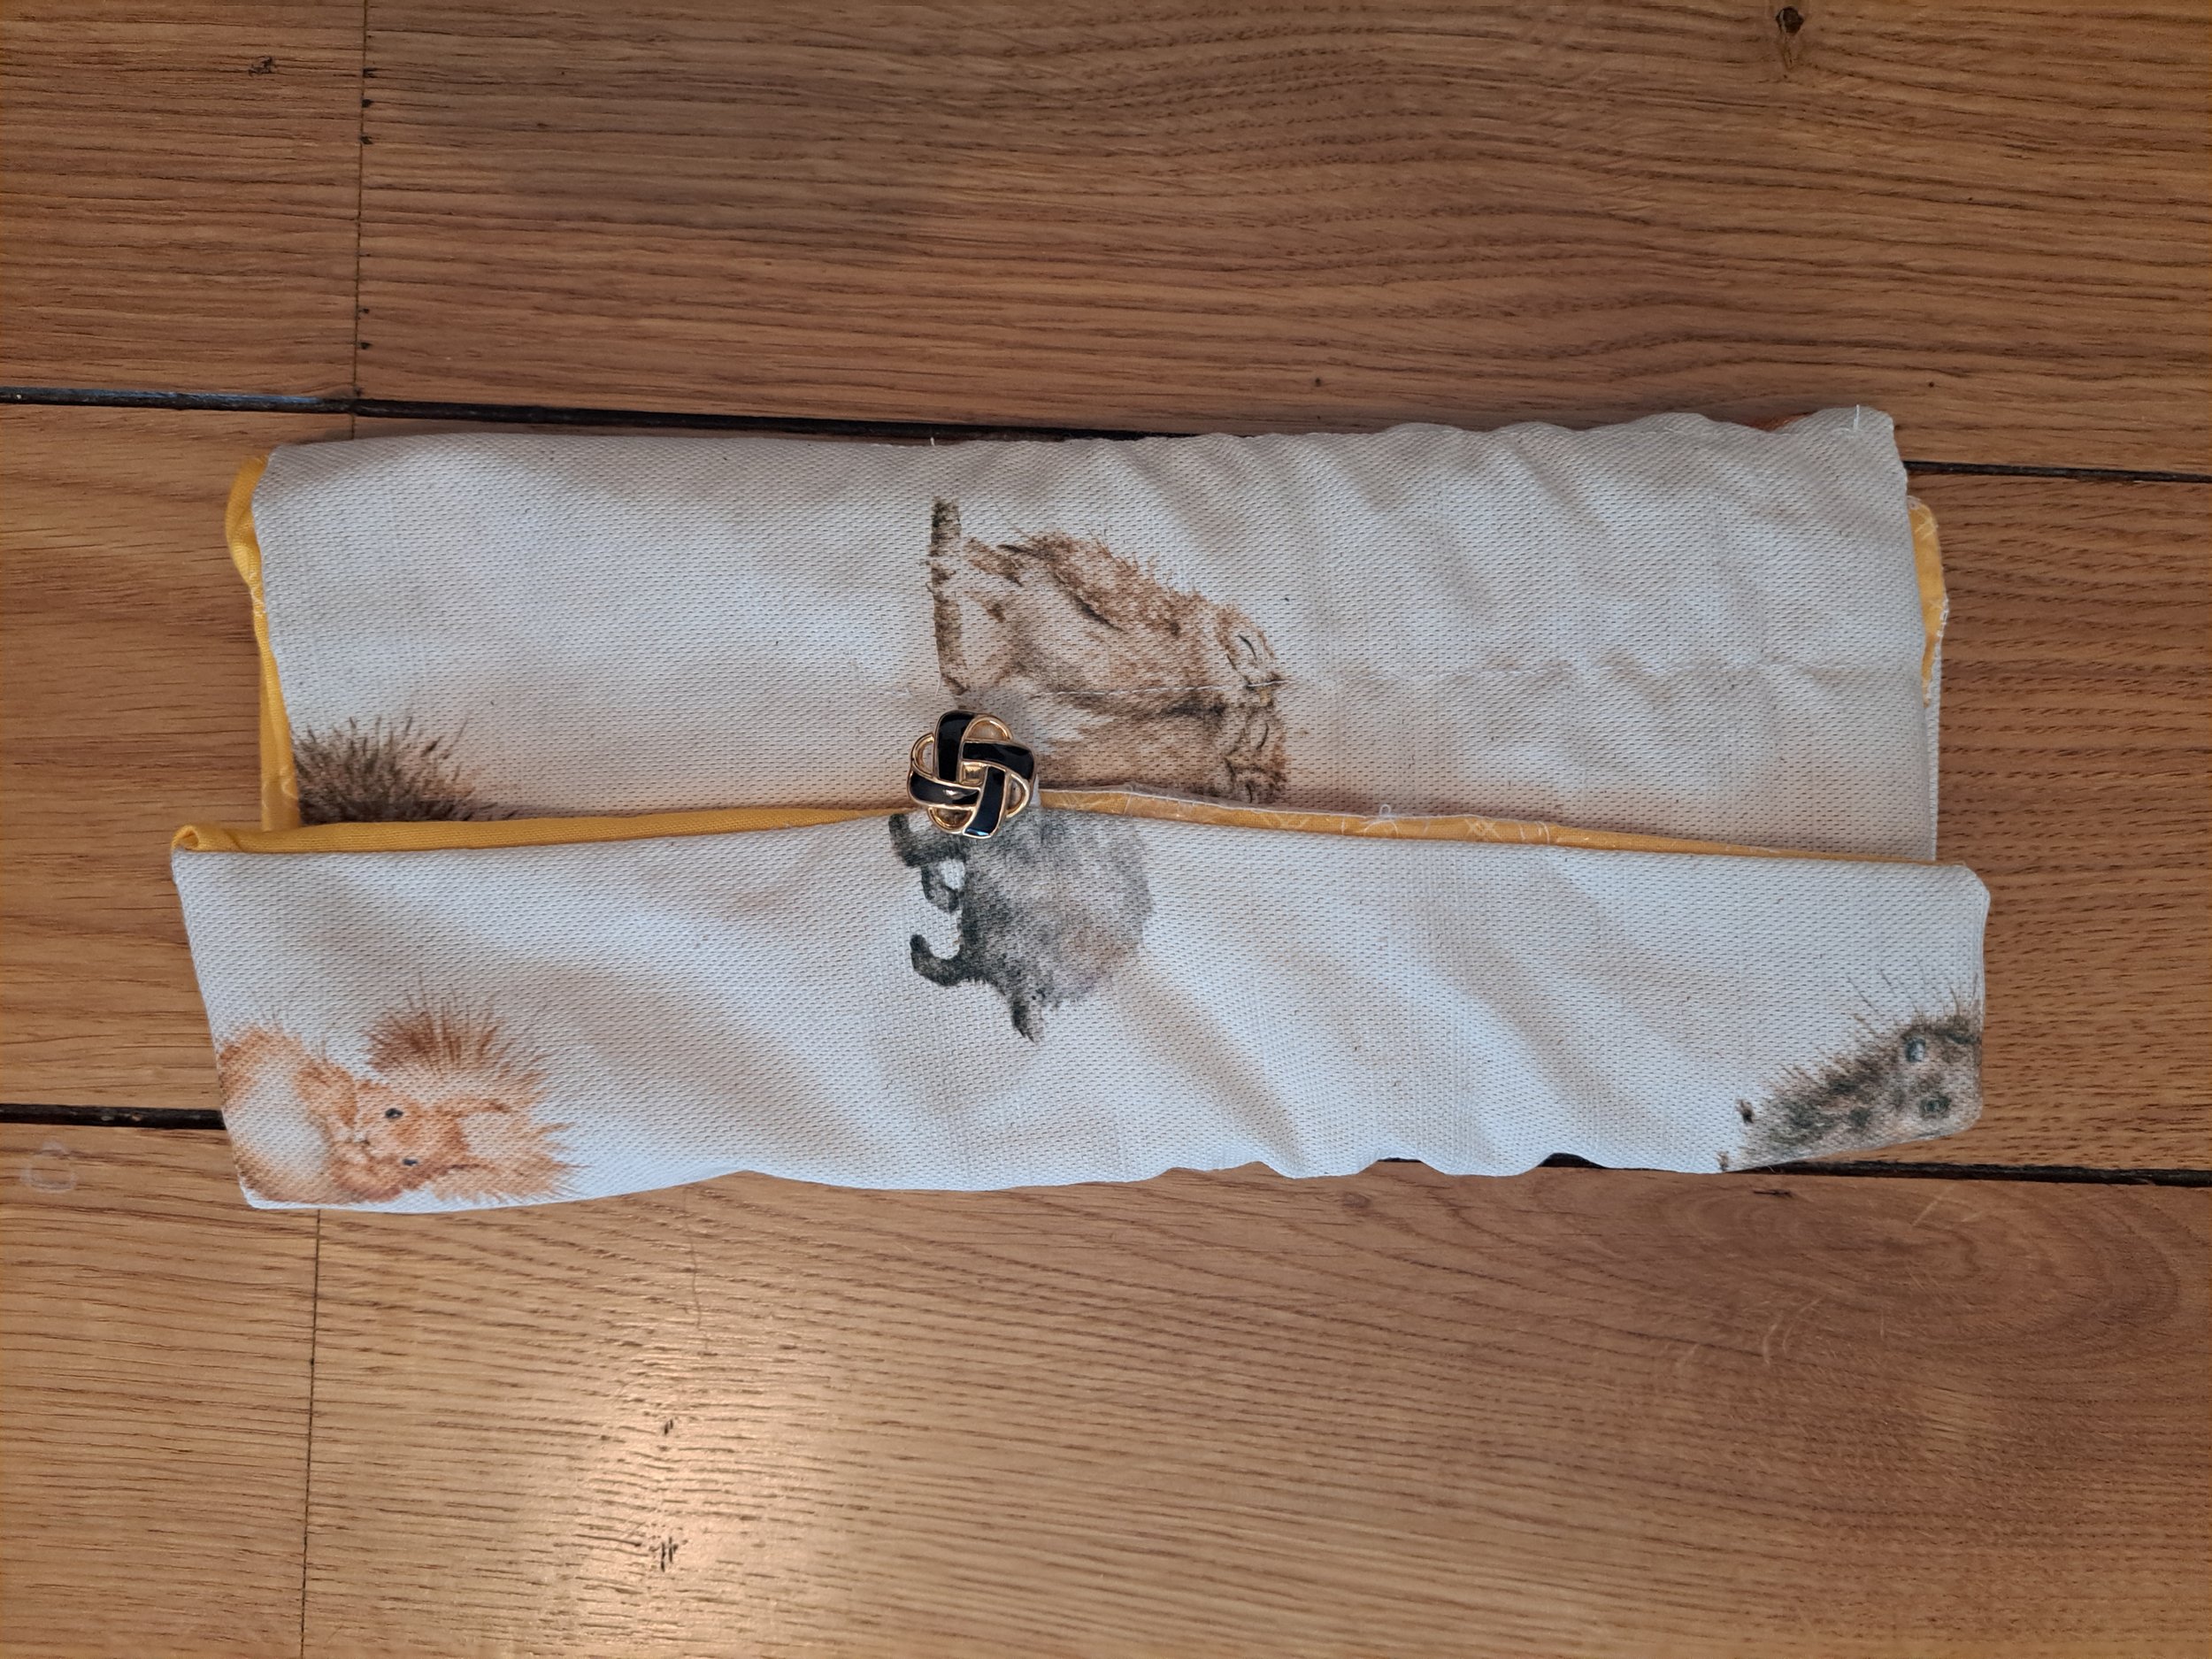
The first brush holder is made with quilting, and a hair tie and button for the clasp.
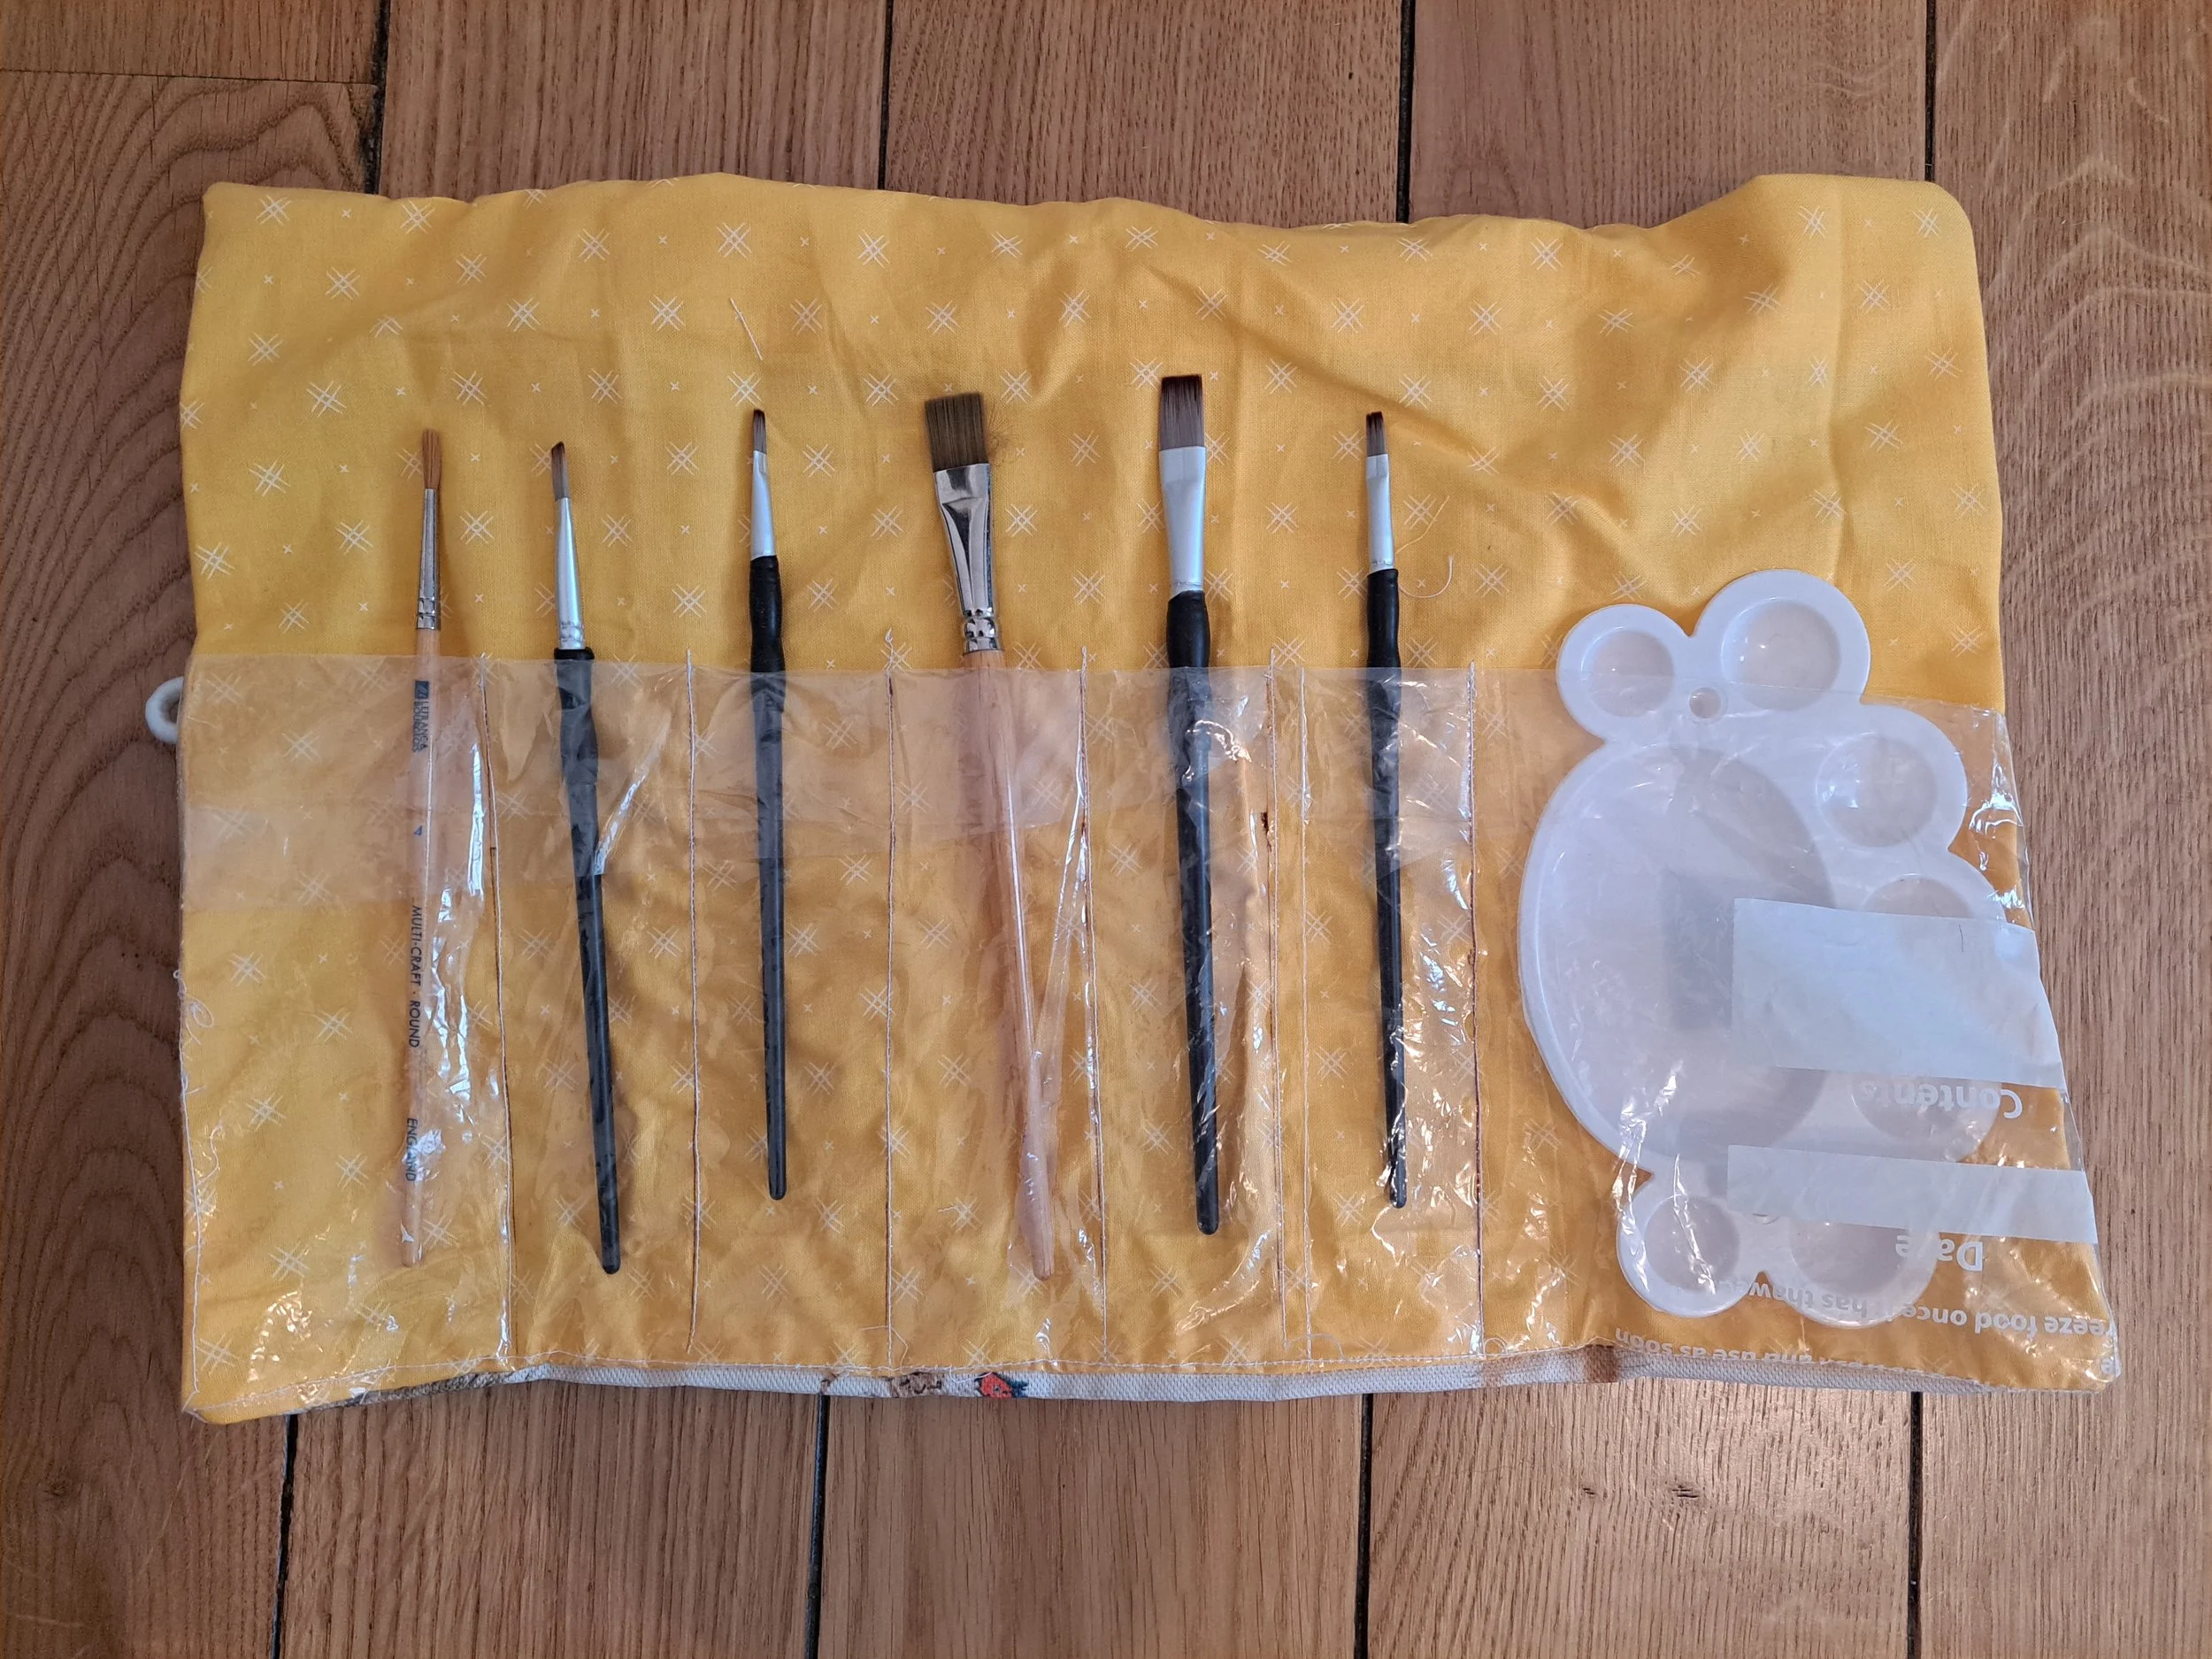
The second contains a plastic sheet and space for a portable pallete for plein-air painting.


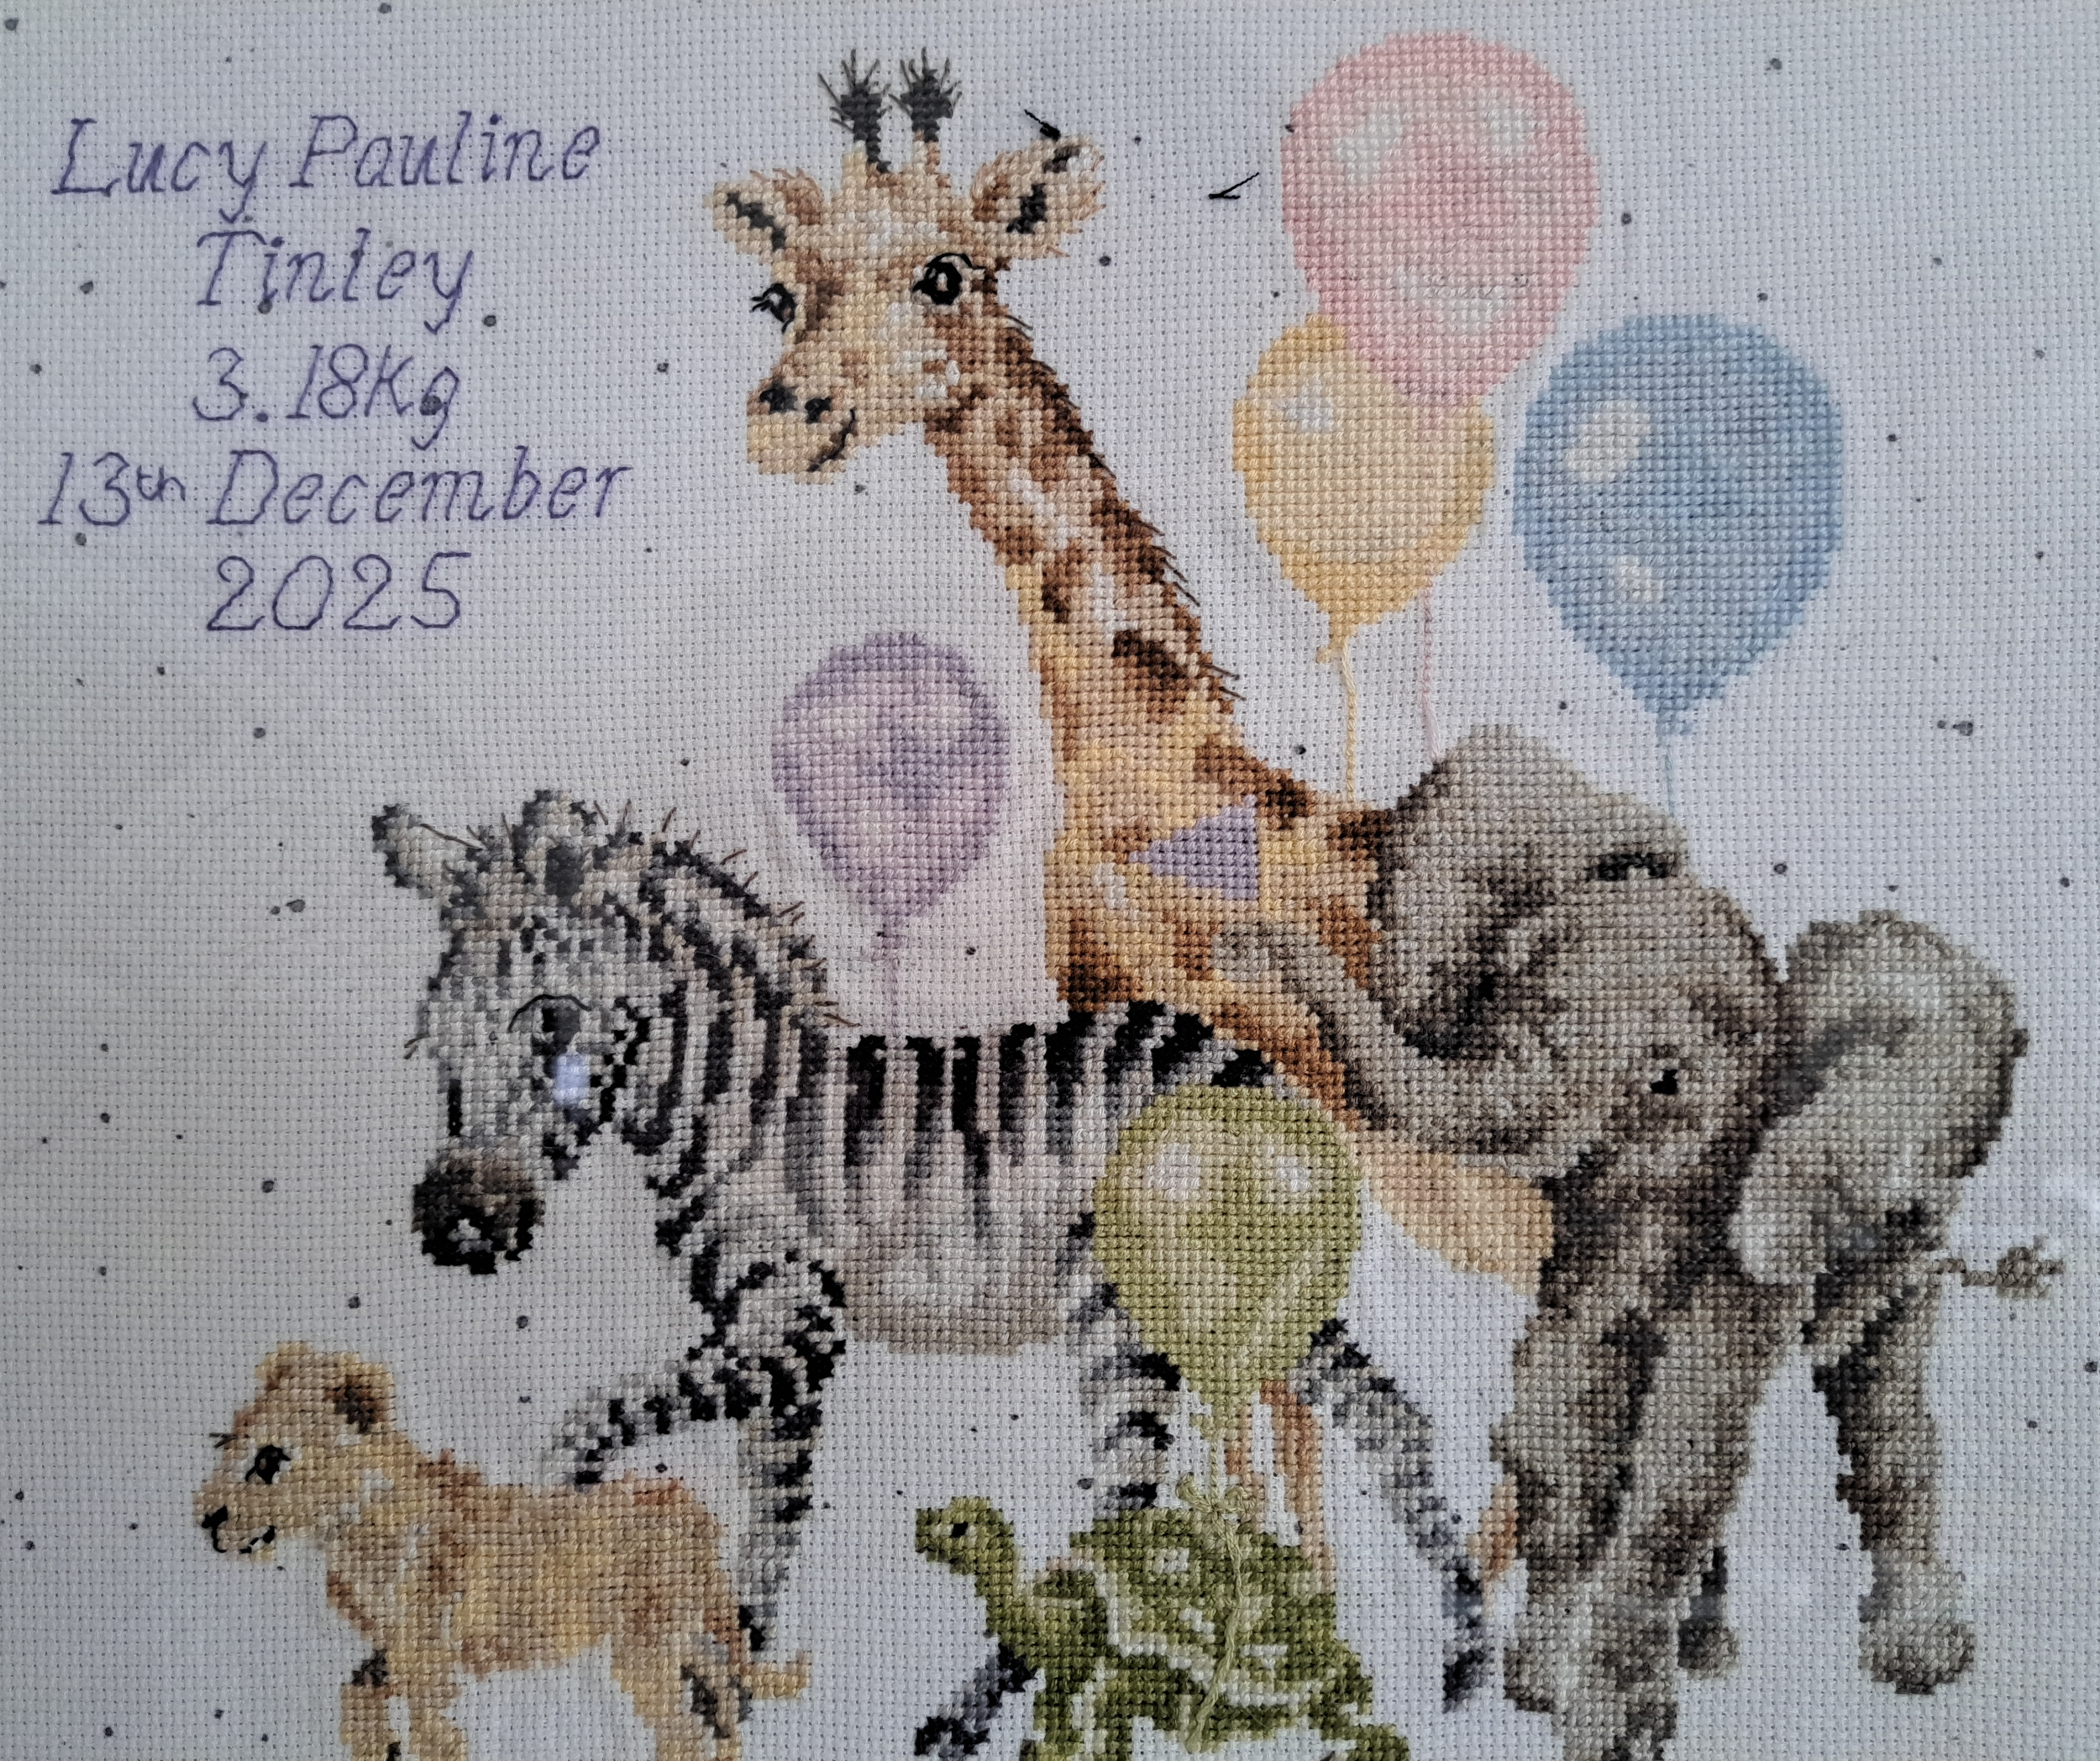
A lady at the Women’s Institute (WI) in Ashford made this lovely tapestry for my baby girl.
It was hand embroidered on a cotton canvas using cotton thread.
Made by my sister-in-law on her new sewing machine.
Liberty print and calico lining with tie wraps.
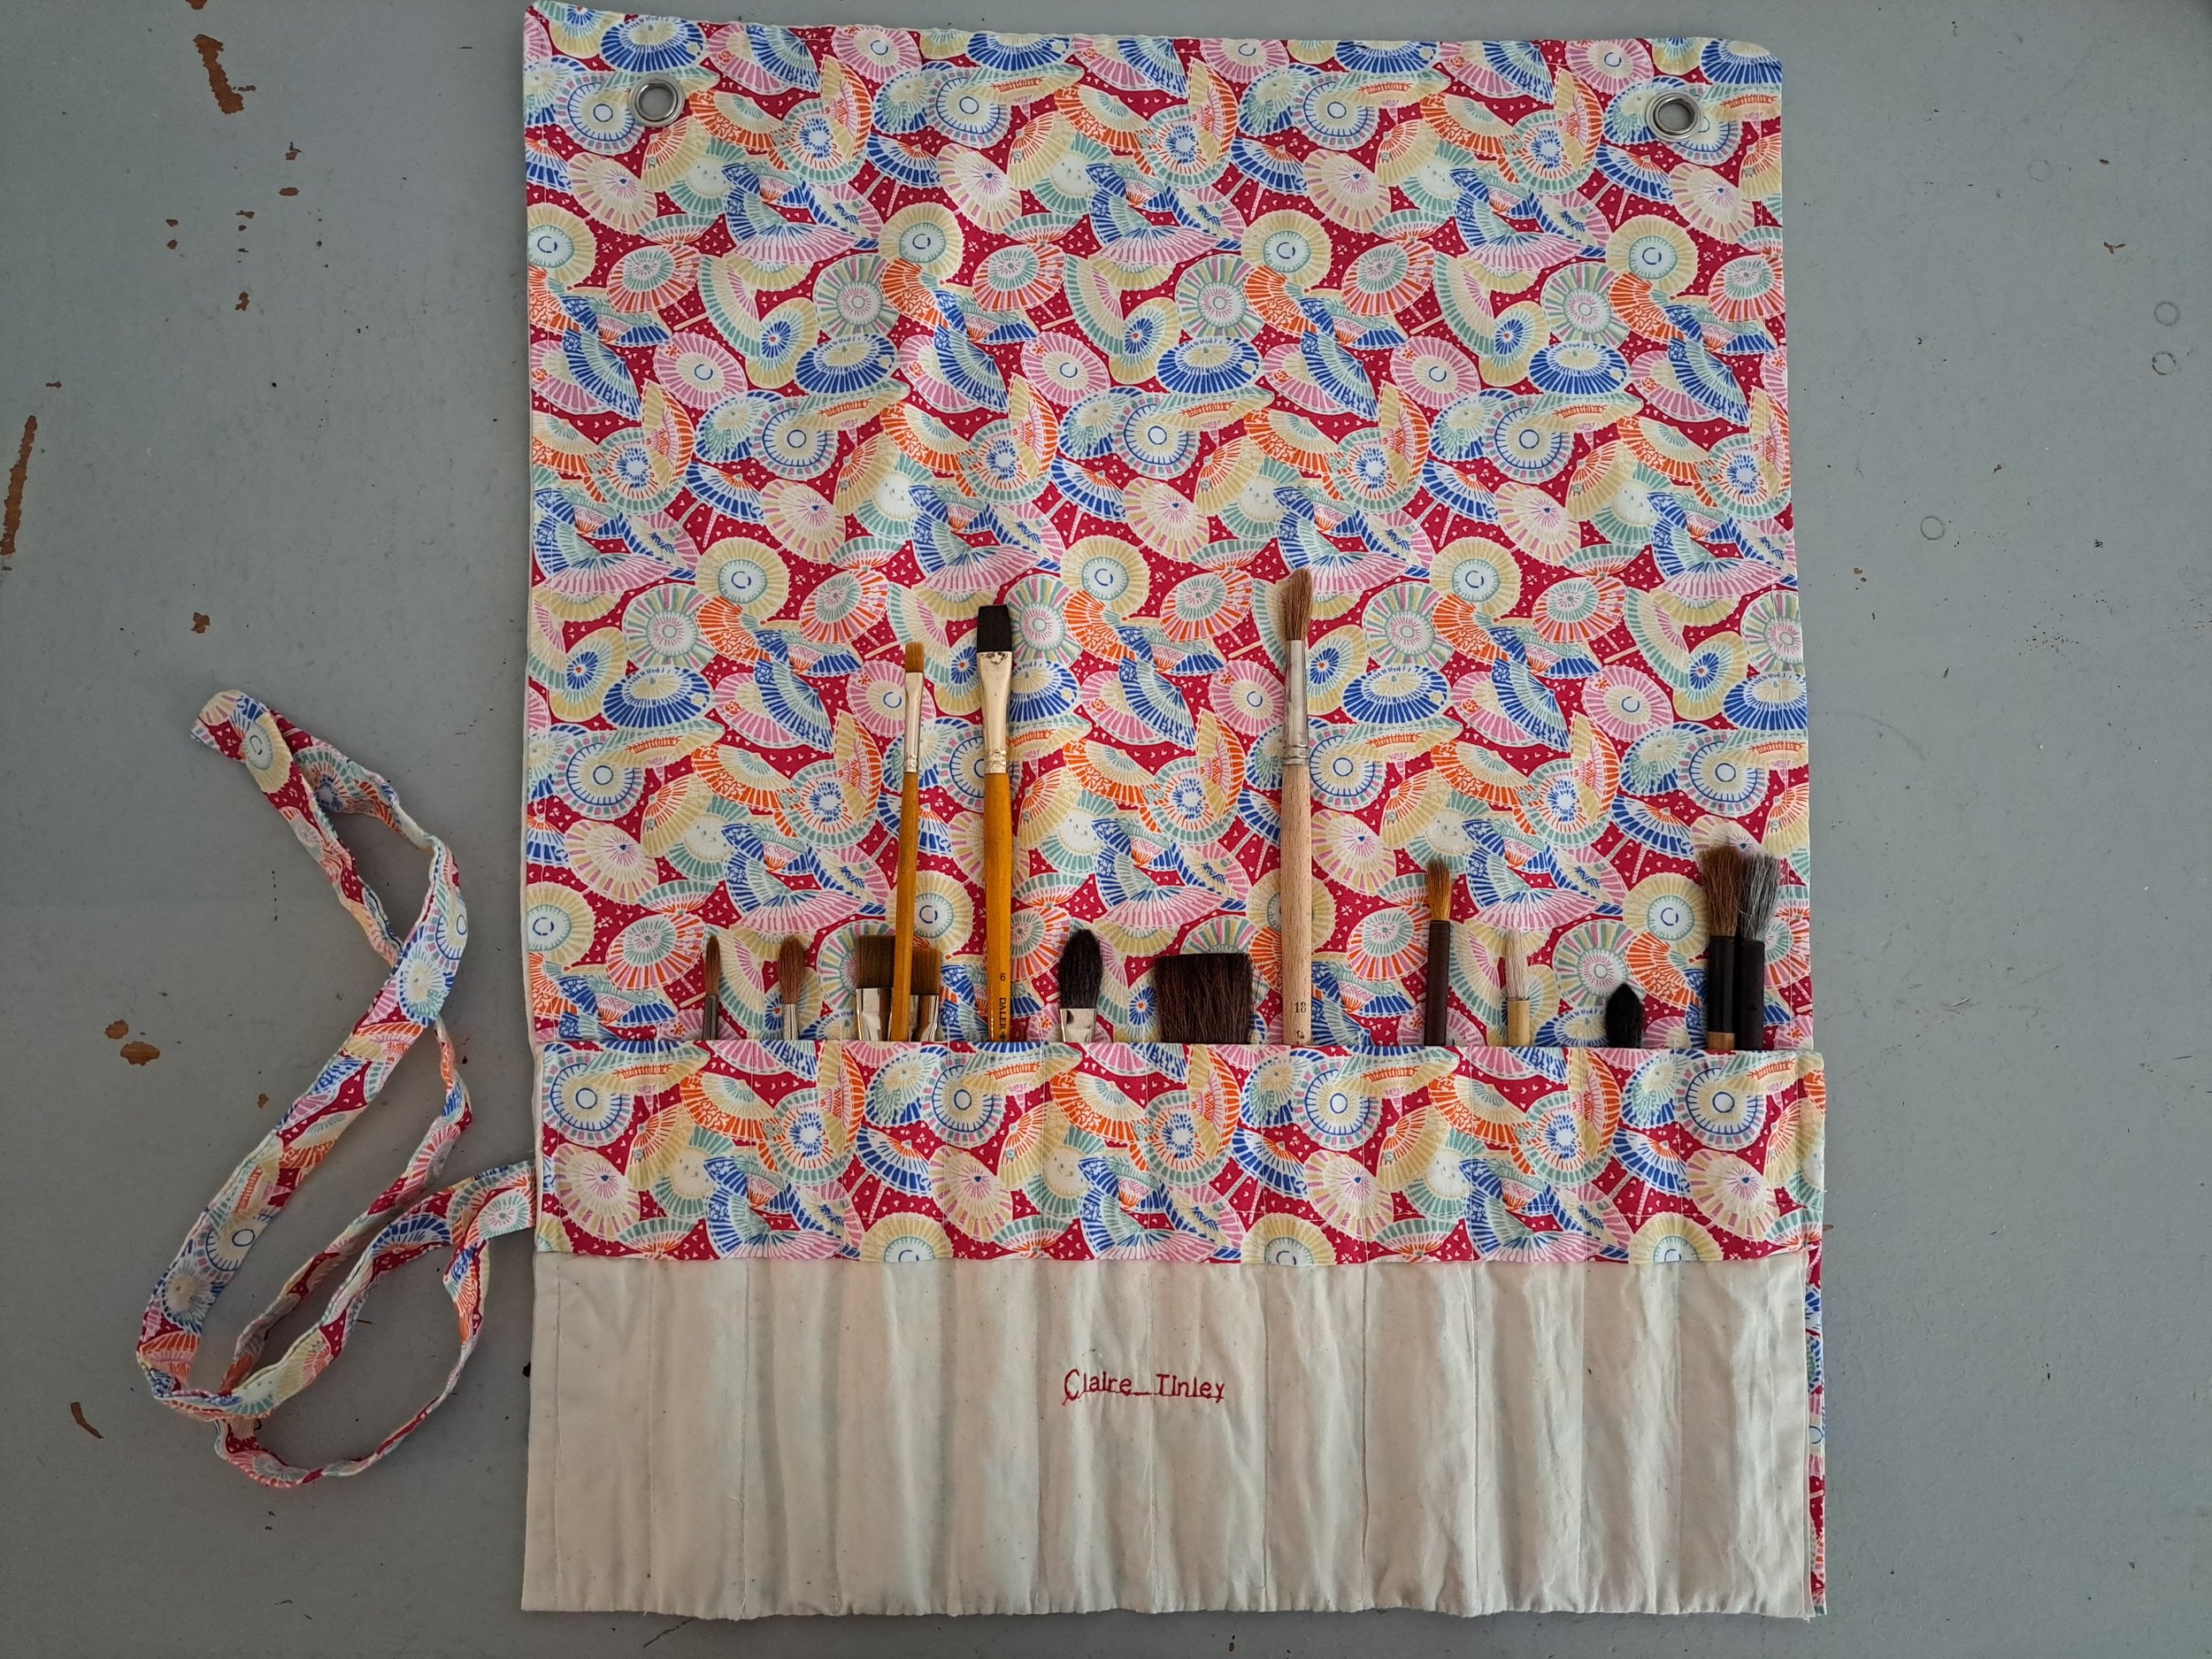
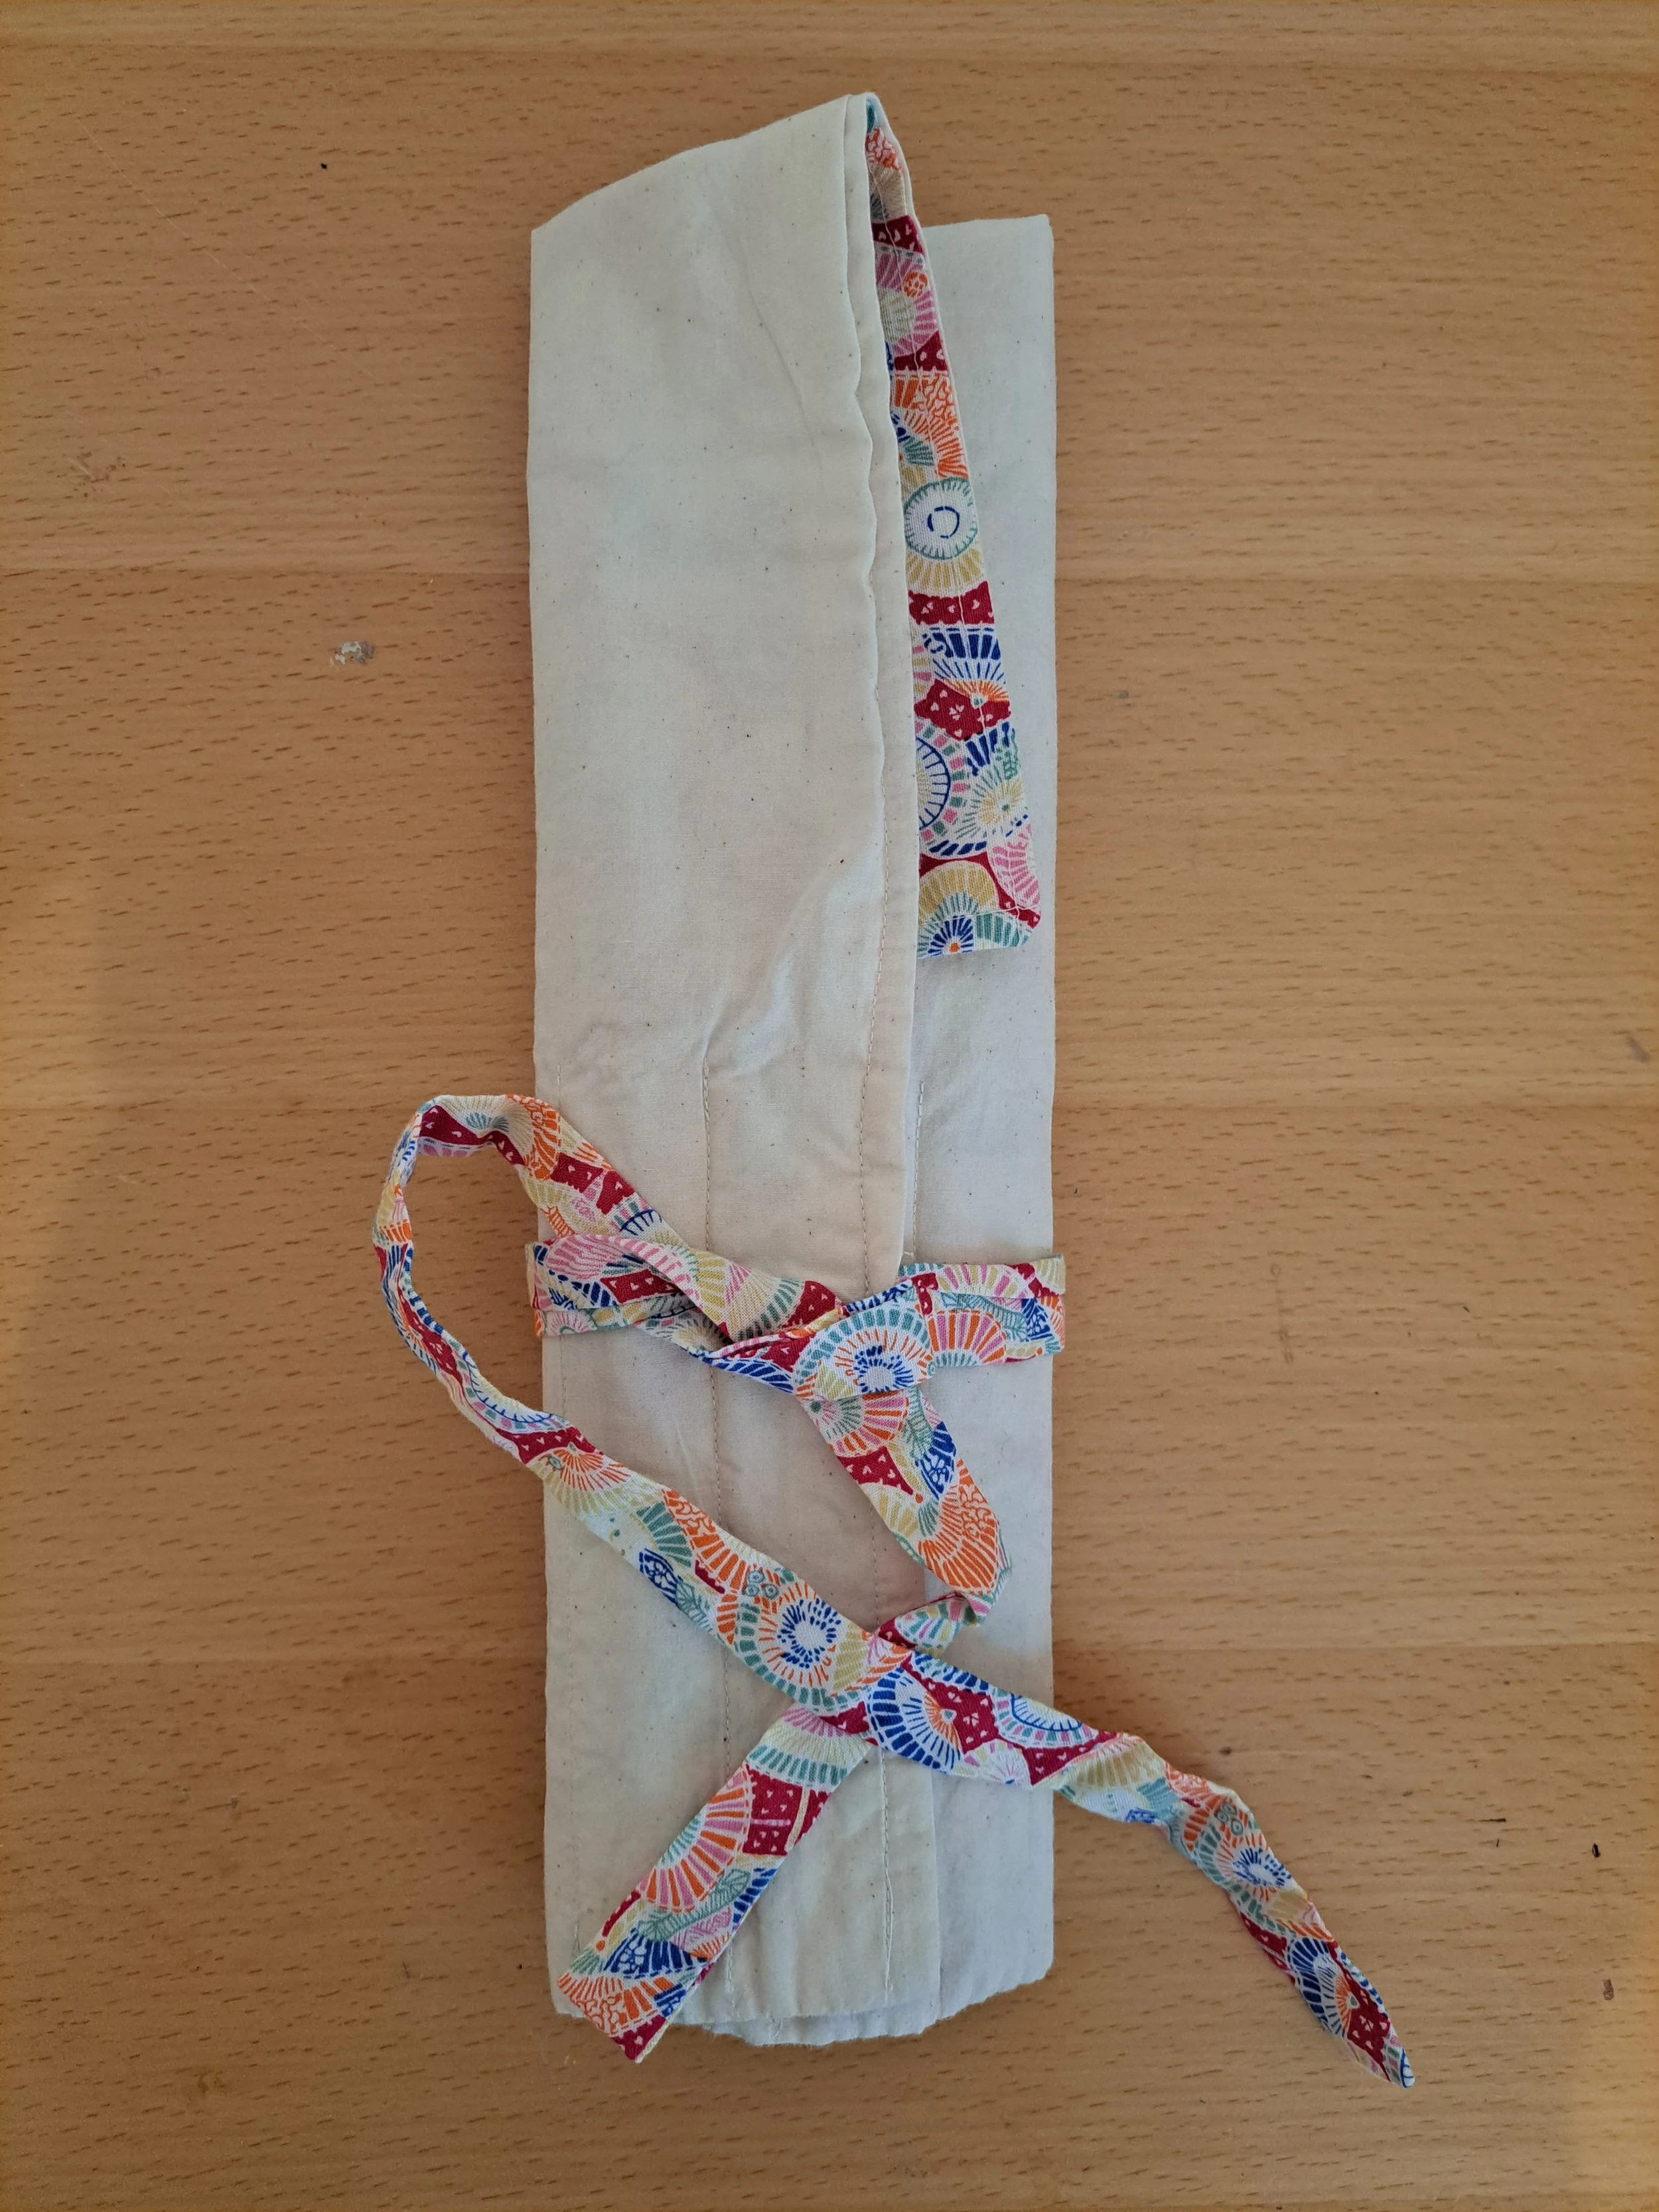


Made by my Sister-in-law on a vintage Singer treadle machine and lovingly hand-sewn name letters. Includes pockets and ajustable buckle.


I took an exercise from Betty Edwards book, “Drawing on the Right Side of the Brain”. These exercises are to help people improve their drawing skills. By drawing an image upside down we can develop perceptual skills to see things as they really are. In this exercise I found I had to look at shapes as I really saw them, and I was less able to impose thoughts or perceptions on the image I was copying. Overall I found this a really useful exercise that I will use again.
The image I chose to copy from was the head of Fra Angelico taken from a larger painting called the “The Disputation of the Holy Sacrament” by Raphael, located in the Apostolic Palace in the Vatican.


The image on the left is the original painting of Fra Angelico by Raphael. The image on the right is my sketchbook drawing (drawn upside down).

Finished drawing. My sketchbook turned the right way up.
I decided to explore methods and materials of painting used in ancient Egyptian mummy portraits. I did this because of their influence in icons later, for example the idealised faces, large eyes and robes. The ancient Egyptians were preoccupied with what happened when you die and mummification was an important ritual in the journey into the afterlife. This in turn influenced Roman sculpture where busts became more human and alive.
Also ancient Greek stories are occupied with how a hero goes on a journey to the underworld and is spiritually changed by his experience that leads him to change and lead a better life in this world.
Interestingly the ingredients used in mummy portraits are the same as those used to in mummification i.e. bees wax, honey, water and oil. I melted these ingredients into a small jar and used it as a binding medium to paint with. I used only 4 pigments; yellow ochre, red ochre, black and white to keep a simple pallet.

